Top 5 Professional Photography Tips for Beginners
Your social media posts are about to get a serious upgrade.
They say a picture is worth a thousand words, but between “likes” and comments on social media sites and apps like Facebook and Instagram, it’s safe to say the word count has probably gone up. Posting photos to share with your friends and family is a great way to stay connected, but if you’re newer to documenting your life and hobbies, it can be a little daunting to put your pics out into the vast landscape of the Internet.
“The number-one rule when it comes to taking photos is not to judge yourself,” says Melissa Sweredoski, a South Florida–based photographer. “Photos are meant to be fun and playful. They’re capturing a moment in your life, and there’s no wrong way to do that.”
Maybe you get a kick out of posting your latest dinner creations, or you’re daydreaming about the vacation you might finally plan now that you’re fully vaccinated against COVID-19. Whatever your reason for becoming a shutterbug, adopt these tips to take professional-quality pics on your smartphone—no expensive equipment needed.
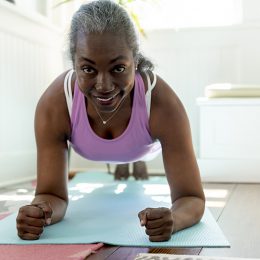
Get and stay fit with SilverSneakers! Choose from dozens of different Community classes, visit a participating fitness location, or view the current schedule of SilverSneakers LIVE online classes.
Photography Tip #1: Work the Angles
The best angle to use depends on what’s in your photo. For selfies or pictures of faces, remember this rule: When the camera goes low, just say no.
“Whether you’re taking a selfie or a picture of your friends or family, you always want to take the picture from a high angle,” says Jennifer Graylock, a New York–based celebrity photographer. That means the camera is pointing down and the people are looking up, which is more flattering for faces, she says.
This doesn’t mean you have to hop up on a chair or step stool to take a photo. Instead, hold the phone at head level and tilt it so that the camera is shooting down slightly instead of up.
For non-face photos, you can play with angles. For example, shooting from a low angle will make your subject look large and powerful, Sweredoski says. This is a fun way to capture trees. To make your subject look smaller, Sweredoski says to shoot at a downward angle, standing above it—a great angle for any food photos you want to take.
Photography Tip #2: Get the Light Right
“If the light is behind the subject you’re taking a picture of, their face is going to be really dark,” Graylock says. “And if the light is falling on the side of their face, it’s going to have a contrast to it. This can also show wrinkles a bit more.”
To get the most flattering glow, make sure the person is standing in front of the light. That means you as the photographer would have the light behind or above you. If you want to play, Sweredoski says there’s nothing wrong with capturing a photo with light coming in from the sides. Doing this will create shadows and give it a dramatic effect.
Another thing to keep in mind: You want your light to be as soft as possible, since harsh lighting can distort images and make faces looked washed out, Graylock says. Try to be mindful of the room you’re taking pictures in, as well as the time of day. Middle-of-the-day sun will be harsher than in the morning or late afternoon.
Photography Tip #3: Consider the Full Frame
It’s easy to see something you want to take a picture of and focus solely on that one thing. Instead, try to be mindful of what else is—or isn’t—in the picture.
“It’s important to remember the full frame,” Graylock says. “If you’re taking a picture of a scenic view on your phone, what you see on your phone is what you’re going to get.” That means if there’s someone in the picture, make sure their head isn’t getting cut off or there’s not a random plant or tree in the background that looks like it’s growing out of their head. This is especially important for anyone taking portrait photos, Graylock says. For those, you want a background that’s not too busy, such as on a beach or in a backyard with minimal trees and bushes.
“The more cluttered a background is, the less impactful the portrait will be because everyone’s eye will be drawn toward the clutter and not the face of the person,” she says.
The same goes for those photo-worthy meals you’ve been making and want to share with family and friends. Make sure the plate is on a clean background, not a loud tablecloth or messy kitchen table (easier said than done, we know!).
Photography Tip #4: Use the Zoom Feature on Your iPhone
If you have an iPhone with a dual or triple camera system, you have access to a fun tool that makes photos look almost 3D, like the subject would appear to the naked eye.
“When you open your iPhone camera, there is a ‘1x’ button on the screen when you’re on the ‘photo’ setting,” Sweredoski says. “Tap it to change the perspective to ‘0.5’ and you automatically add more depth to your image.”
Subscribe to our newsletter
It's quick and easy. You could be one of the 13 million people who are eligible.
Already a member? Click to discover our 15,000+ participating locations.
Follow Us
Likewise, if you want to take a close-up shot, tap and hold the “1x” and you can then dial the perspective up to 2 (or more) to zoom in and take beautiful, detailed photos—perfect for capturing flowers or jewelry.
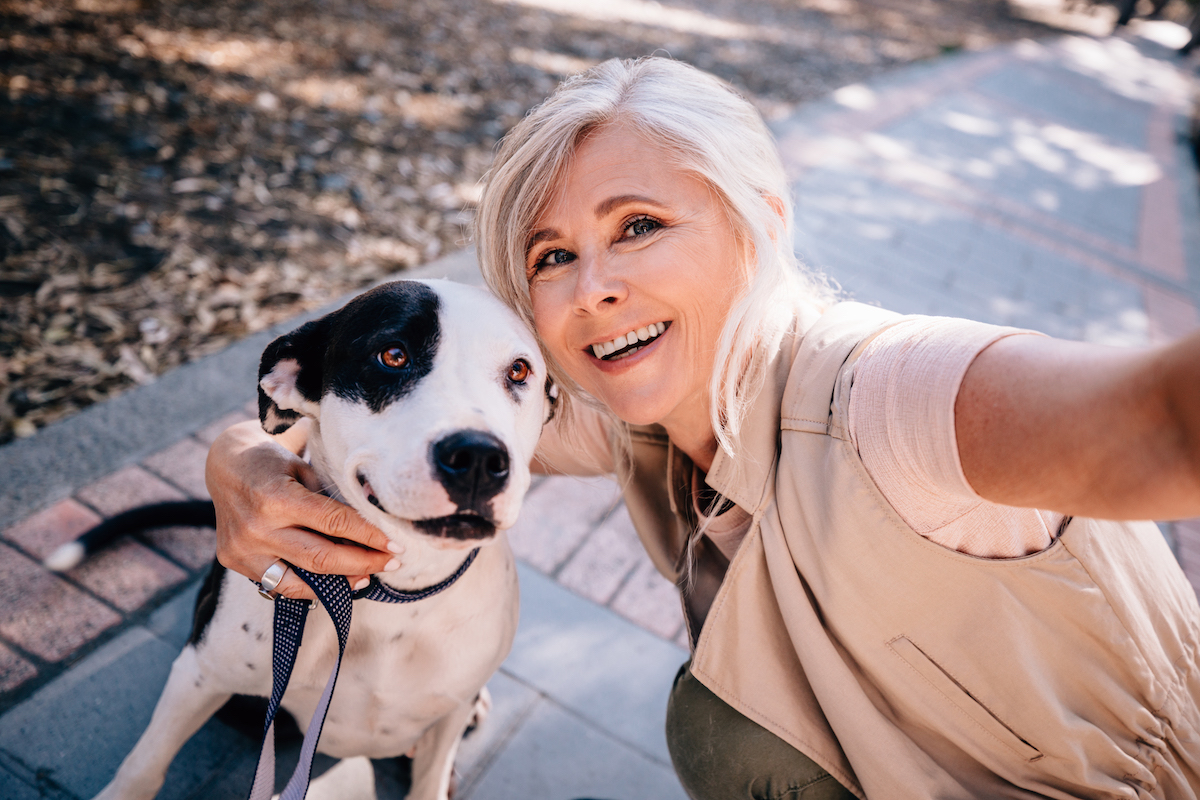
Photography Tip #5: Invest in a Selfie Stick
Selfies rarely turn out exactly the way you want them to, especially when you’re attempting to do it with a group.
“The person who is closest the camera—and often the one responsible for pushing the button—is always going to have their face look distorted due to the curve of the lens. To correct this, move the camera further back and allow room on either side of the photo,” Graylock says. She recommends investing in a selfie stick, which secures your phone at the end of a long handle and allows you to take pictures at different lengths.
“Selfie sticks are great because you can keep some distance between the camera and the people in the photo,” Graylock says. “It also lets you to take photos at angles you otherwise might not be able to try, especially if you deal with knee or back pain.”
For example, you can use a selfie stick to take a picture of your dog lying on the floor without having to get down there yourself, Graylock says.
One final tip for great photos, selfies or otherwise: Don’t waste too much time trying to edit or find the perfect filter, Sweredoski says. You want to look back at your pictures and be able to reminisce about how it felt to be there or with those people. Doctoring photos too much may take away from those memories. “I always believe that natural is best,” she says.
Take Your Favorite SilverSneakers Classes Online!
SilverSneakers members can access live fitness classes and wellness workshops through SilverSneakers LIVE. See the latest schedule and RSVP for classes here.
Not a member? If you have a Medicare Plan, it may include SilverSneakers—at no additional cost. Check your eligibility instantly here.